All documentation
Publish to your Wix CMS
Connect a Wix CMS (Wix Data) collection and CiteAgentic adds each approved piece as a new item, with the title and body mapped to your own collection fields. No OAuth app, no Velo code, no plugin.
Connecting Wix to CiteAgentic takes about five minutes and needs three values: your Wix site ID, the CMS collection ID that will receive the content, and a Wix API key with Wix Data permissions. Once connected, every approved draft can be pushed to Wix on demand or on a schedule.
What is the Wix integration?
The Wix integration writes each approved CiteAgentic draft into a Wix CMS (Content Manager) collection as a new item. It uses the Wix Data REST API with an API key you generate yourself, so there is no app to install and nothing to approve in an OAuth screen.
It writes to a collection, not to Wix Blog. That is deliberate: collections accept plain HTML in a text field, while the Blog API requires Wix's Ricos rich content JSON. Writing to a collection means your draft arrives intact, and you control exactly how it renders by binding a page or repeater to that collection in the Wix editor.
What do you need before you start?
You need three things, all from your own Wix account:
- A Wix site with a CMS (Content Manager) collection to receive the items.
- Your Wix site ID, also called the
metaSiteId. - A Wix API key with Wix Data (Content Manager) read and write permissions.
If your site has never used the CMS, add a collection first. The connection test fails with a clear message when Wix Data is not enabled on the site.
How do you create the CMS collection?
Create the collection in your Wix dashboard before connecting, so CiteAgentic has somewhere to write.
- In your Wix dashboard, open CMS (also labelled Content Manager).
- Create a collection for this content, or choose an existing one.
BlogPostsis a common choice. - Note the collection's ID, which is its system name rather than its display name. Open the collection's settings to see it.
- Note the field keys that hold the title and the body. The defaults
CiteAgentic assumes are
titleandcontent.
Your collection needs a text field for the title and a rich-text or long-text field for the body. A slug field is optional.
Where do you find your Wix site ID and API key?
Both live in your Wix account settings, in two different places.
For the API key:
- Go to Settings → API Keys in your Wix account dashboard.
- Click Generate API Key and give it Wix Data permissions, read and write.
- Copy the key. It starts with
IST.and Wix shows it exactly once, so store it somewhere safe before closing the dialog.
For the site ID:
Find it under Settings → Headless / API, or read the metaSiteId out of your
Wix dashboard URL. It is a UUID, formatted like
a1b2c3d4-0000-0000-0000-eeeeffff1111.
How do you connect Wix in CiteAgentic?
Open Site Settings → Integrations → Publishing channels, then click + Wix and fill in the form.
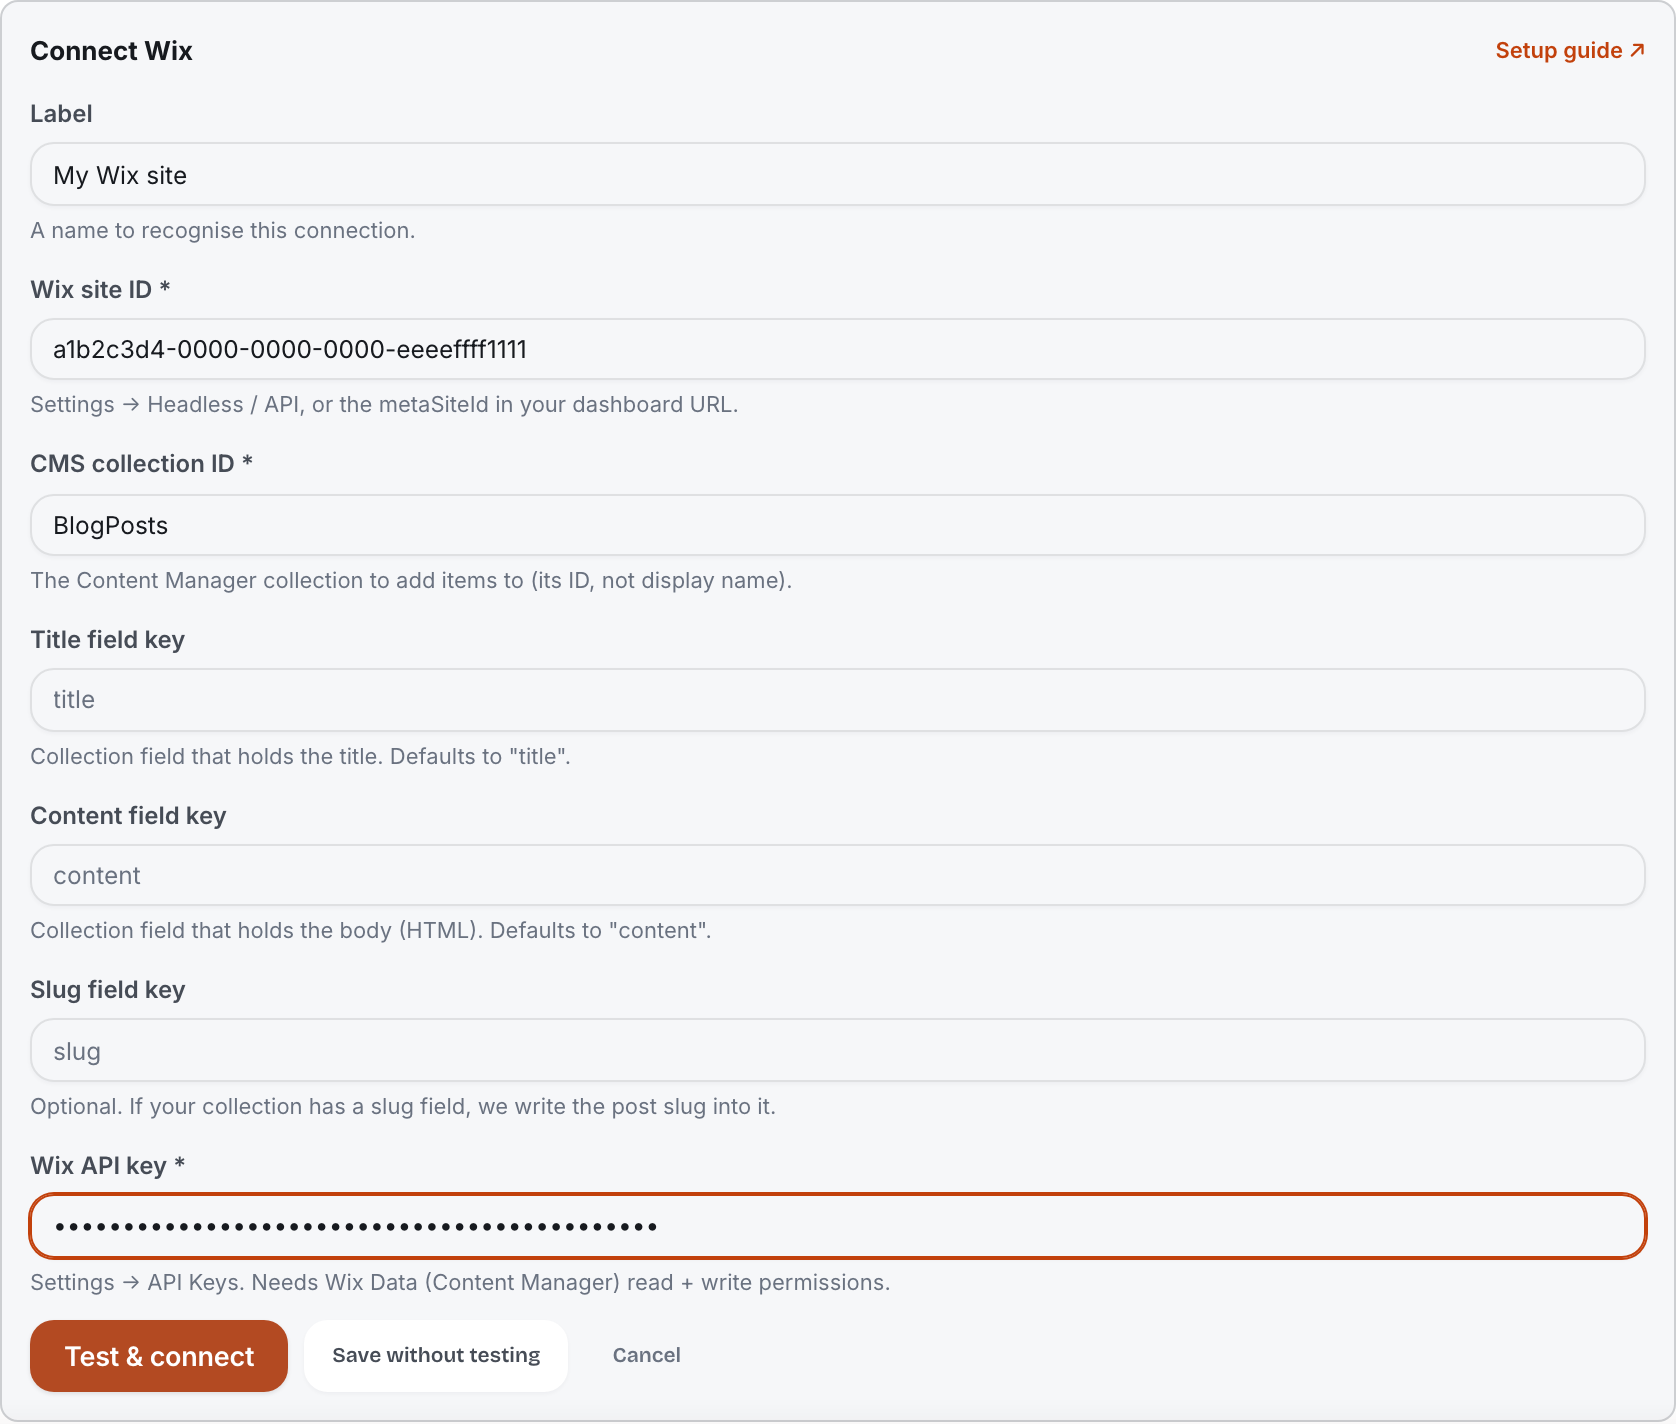
The fields map as follows:
| Field | Required | What to enter |
|---|---|---|
| Label | No | A name you will recognise later, e.g. "My Wix site" |
| Wix site ID | Yes | The metaSiteId UUID |
| CMS collection ID | Yes | The collection's system ID, e.g. BlogPosts |
| Title field key | No | Defaults to title |
| Content field key | No | Defaults to content |
| Slug field key | No | Only if your collection has a slug field |
| Wix API key | Yes | The IST.… key, stored encrypted and never shown again |
Click Test & connect. CiteAgentic fetches the target collection, which validates the API key, the site ID and the collection's existence in a single call. On success it saves the channel and shows the collection's display name back to you.
How do you publish a draft to Wix?
There are two ways, and both use the same connection.
On demand: open any draft in Content Studio and choose Share ▾ → Publish to your Wix site. The item is created immediately and the draft is marked published.
On a schedule: link the Wix channel to a day in the content calendar. Once you approve that piece, it publishes to Wix on its scheduled date without further action.
Each piece is inserted as a collection item, with your title in the title field and the rendered HTML in the content field. How it then appears on your live site depends on the page or repeater you have bound to that collection in the Wix editor. CiteAgentic writes the data; Wix controls the presentation.
What errors might you see, and what do they mean?
The connection test surfaces Wix's own error codes translated into plain language. These are the three you are most likely to hit:
- "Wix Data (CMS) is not enabled on this site." Wix returned
WDE0110. The CMS app is not installed on the site. Add a CMS collection in your Wix editor, then retry. - "Collection … not found for this site." The collection ID is wrong, or it belongs to a different site. Check you used the system ID rather than the display name.
- "Authentication failed." The API key is wrong, expired, or lacks Wix Data permissions. Generate a new key with read and write on Wix Data.
If a scheduled publish fails, the channel is flagged with the error in Site Settings and the failure is recorded against that draft, so nothing fails silently.
Frequently asked questions
Does this publish to Wix Blog or a CMS collection?
Where do I find the collection ID?
What permissions does the Wix API key need?
Which collection fields get filled?
Is my Wix API key stored securely?
Can I connect more than one Wix site?
Ready to connect?
Site Settings → Integrations → Publishing channels → + Wix. Add your site ID, collection ID, and a Wix Data API key.