All documentation
Publish to your Git-backed site
Best for sites built from a repo — Astro, Hugo, Next.js, Jekyll, Gatsby, Eleventy, Docusaurus. CiteAgentic commits each approved piece as a Markdown file; your existing deploy pipeline takes it live.
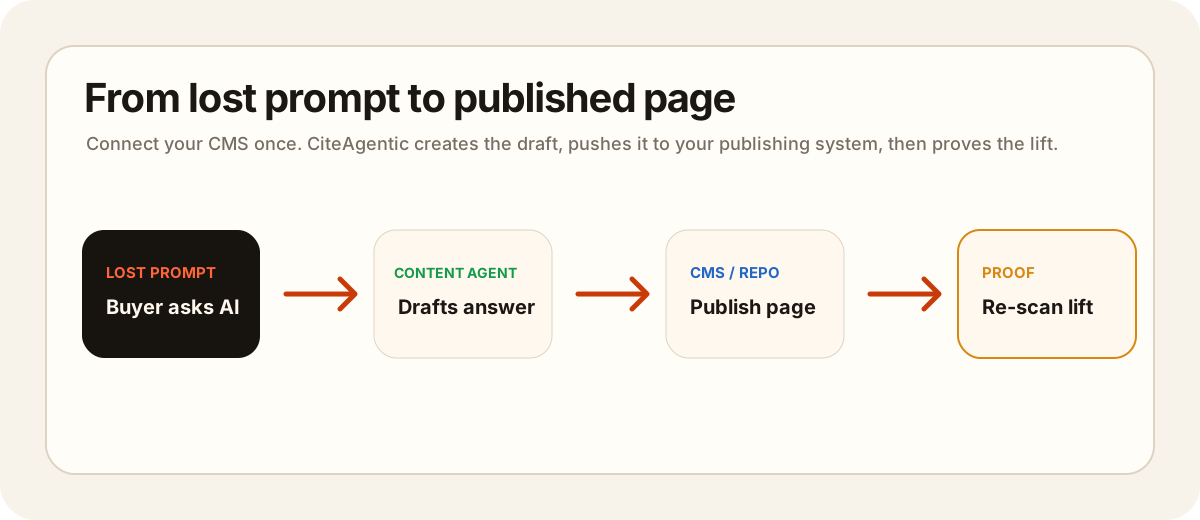
How it works
CiteAgentic commits your content as content/<slug>.md (the slug is generated automatically from the title) with title + date frontmatter. Because your site already builds from that repo, the commit triggers your host (Vercel, Netlify, Cloudflare Pages, GitHub Pages, …) to rebuild and deploy — so the post goes live with no extra step. CiteAgentic doesn't host your site; it pushes to the repo your site already deploys from.
What you'll need
- A GitHub repository that your website builds from.
- A personal access token with Contents: read & write on that repo.
Step 1 — Create a personal access token
We recommend a fine-grained token, scoped to just the one repo:
- In GitHub, click your avatar → Settings → Developer settings → Personal access tokens → Fine-grained tokens. (Direct link:
https://github.com/settings/personal-access-tokens/new.) - Give it a name and expiration, and set Resource owner to the account/org that owns the repo.
- Under Repository access, choose Only select repositories and pick your content repo.
- Under Permissions → Repository permissions, set Contents → Read and write (Metadata: Read is added automatically).
- Click Generate token and copy it — it starts with
github_pat_…and is shown once.
A classic token works too (https://github.com/settings/tokens/new → check the repo scope), but it grants access to all your repos, so the fine-grained token above is safer.
Step 2 — Connect it in CiteAgentic
- Open Site Settings → Publishing channels.
- Click + GitHub and fill in:
- Repository —
owner/repo - Branch — optional; defaults to the repo's default branch
- Folder path — where Markdown files are committed. Defaults to
content/. Point it at your generator's content directory (examples below). - Personal access token — the one you just created
- Repository —
- Click Test & connect.
Where do I find the folder path?
It isn't a value GitHub gives you — it's a choice about your own repo, and it has one correct answer: the folder your site already reads Markdown from. Open the repo on github.com and find where your existing posts live. Whatever folder they sit in is what goes in this field. If the site has no posts yet, use the table below for your generator.
Test & connect checks the folder for you. It reports either Publishing into content/ (2 Markdown files already there) — which confirms you picked the right one — or that the folder doesn't exist yet, along with the content folders it did find in the repo. A folder that doesn't exist is not an error; it's created on the first publish. But if the test names folders you recognise and yours isn't one of them, that's the signal to change it before publishing rather than after.
Folder path by generator
| Generator | Typical folder path |
|---|---|
| Hugo | content/posts/ |
| Astro (content collections) | src/content/blog/ |
| Jekyll | _posts/ |
| Next.js / Eleventy | content/ or posts/ |
| Docusaurus | blog/ or docs/ (often under website/) |
Publishing
- On demand: Share ▾ → Publish to your repo on any approved draft.
- Automatic: link the GitHub channel to a day in the content calendar and it commits on that date — your host deploys it the rest of the way.
Frequently asked questions
How is the filename / slug chosen?
Does committing make it live?
Fine-grained or classic token?
What if the folder doesn't exist yet?
Ready to connect?
Site Settings → Publishing channels → + GitHub. Add your repo, content folder, and a Contents:read-write token.